The bow and arrow are effective hunting tools, because they increase the distance between you and your prey, bettering your chances of catching an animal. When in a survival situation, the ability to fashion a survival bow and arrows quickly and from the raw material surrounding you is a skill that is of extreme use, and could make the difference between simply surviving and thriving. To take advantage of this technology, there are a few things you need to know before building an effective survival bow and straight-flying arrows.
Finding Exceptional Wood for A Survival Bow
The first piece of this puzzle to consider is the bow. The bow is a stick with a string tied between both ends, which propels the arrow to its target. Each limb (the section of the bow from the tip to the handle) must bend equally and gradually over its length. Also, the material must be flexible with the ability to snap back into position quickly. In the field, where you may or may not know the identity of the trees around you, you can do a simple test to determine whether the wood is suitable for a bow. Take a branch that’s the size of your pinky. Bend it slightly and let it snap back. Does it respond quickly, or does it sluggishly move back to straight? Now, bend the stick into a c-shape. Does it snap, or is it strong enough to stay intact? Next, break the twig. If it snaps in two, it is of poor quality. If it instead kinks, forming a fibrous fracture that refuses to break all the way through, it is suitable for a bow.
Find a sapling of this type of tree, about a half inch at the small end. This is your bow stave (the piece of wood you make a bow from). It should also have a gradual taper from one end to the other. An absence of knots and branches is also a plus. Because one end is bigger than the other, the stave must now be modified so that both limbs bend equally.
Find the middle of the stave and mark where you want your handle. On either side of the handle, whittle away wood from the belly of the bow (the side that will face you), tapering it gradually. Keep from cutting into the back of the bow (the side that will face away from you); preserving this unbroken layer of wood will help keep the wood from splintering when put under tension. Place one of the bow’s tips on the ground and push into the handle with one hand while holding the other tip in you other hand. This will show you how well the limb touching the ground bends. Flip it over and test the other limb. You want them both to bend equally. At the tip of each limb, cut two knocks on either side. These are the notches that will keep the string from sliding of the tips.They are cut in at a 45-degree angle, pointing toward the handle and deep enough to accept the bow string.
Creating the Bow Cord
Next, fashion a cord made of strong material. Any synthetic cordage with a small diameter will work. The less stretchy, the better, because this will help transfer the snap of the bow to the arrow more effectively. If you are without synthetic cordage, a cord can be made from natural materials such as dogbane, milkweed, yucca or nettle. When the bow is strung, the cord should stand off the bow by about 5 inches. This is the brace height, and also helps with the snap of the bow.
Making Your Arrows
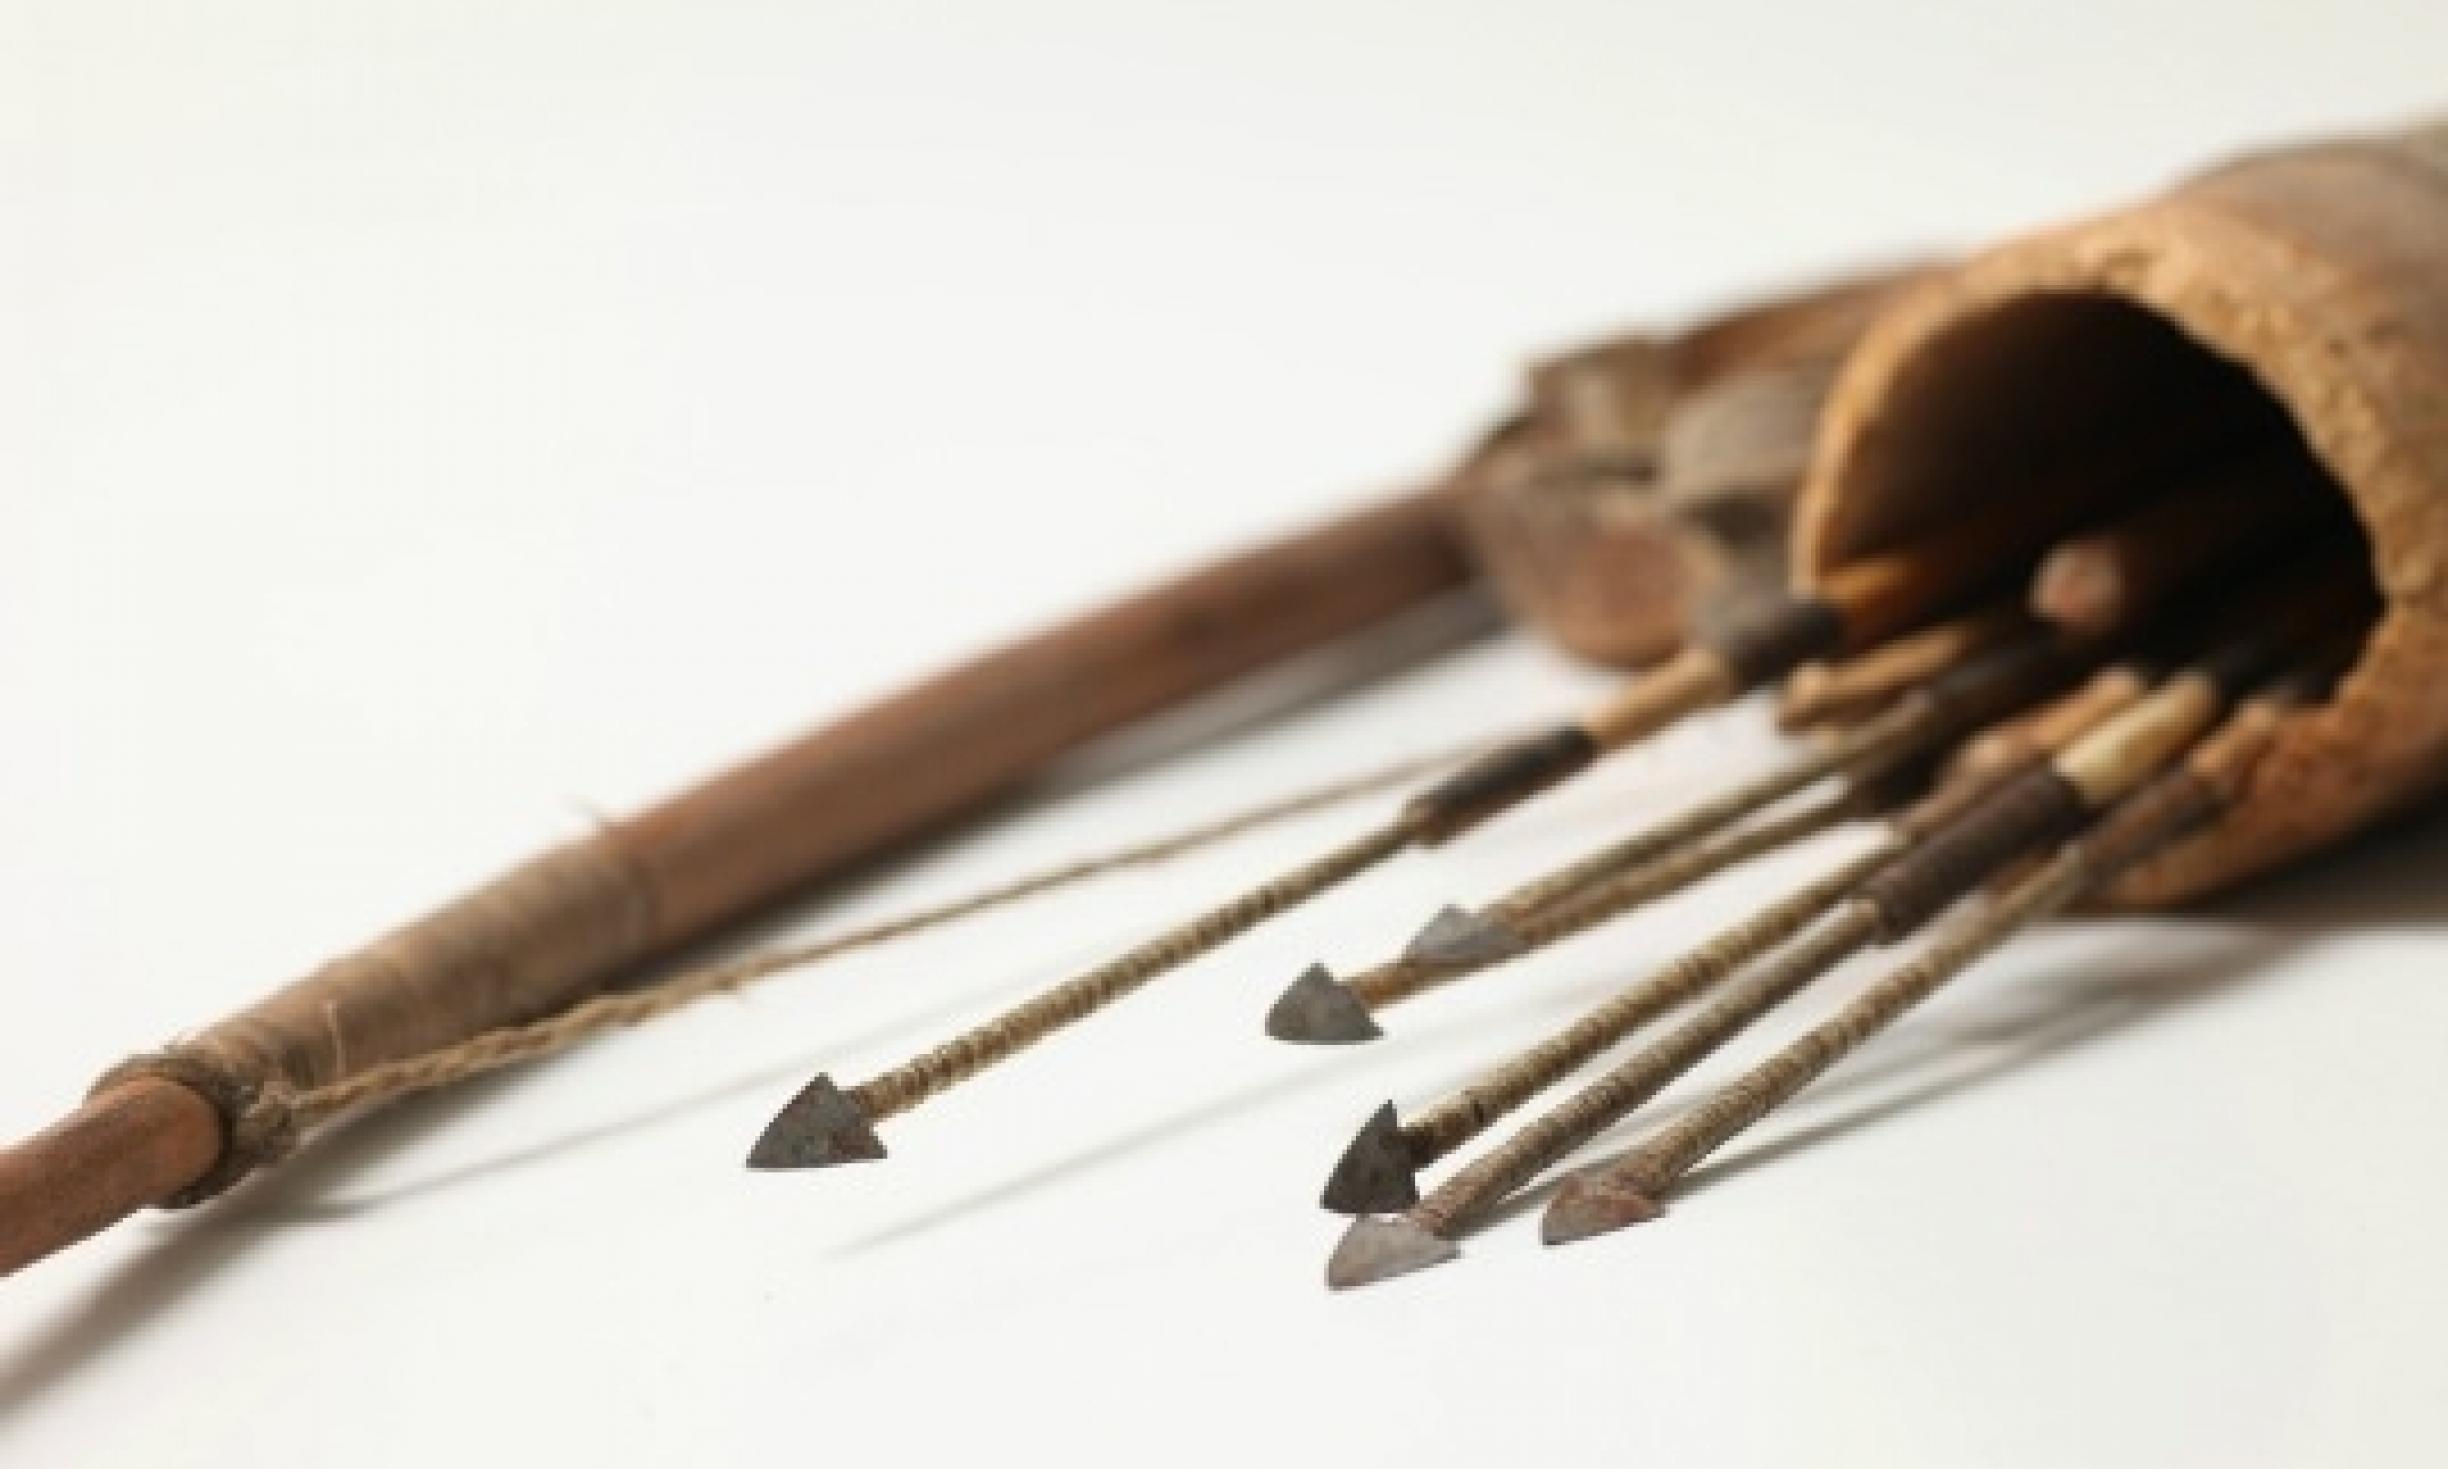
Arrows are the last and most important part of this weapon. Survival arrows can be made out of many materials. Straight shoots from trees such as maple, willow or dogwood all work well. They should be as straight as possible, clear of branches and knots, and taper gradually end-to-end. The small end, which will be notched for the string, should be large enough for this knock without compromising the strength of the wood to either side. The bark is scraped from the shoot with a knife or stone, and then the shaft is held over a fire to straighten.
To straighten, heat up a crooked spot, and then bend it backwards, slightly past straight. Upon cooling, this spot will set up where it’s been bent to. Look down the length of the arrow periodically to check on its straightness. The large end of the arrow can simply be sharpened to a point, or notched to accept a point of bone, stone, or steel.
![]()
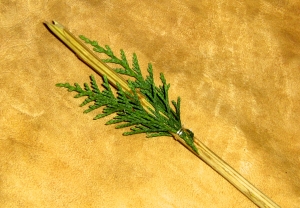
The small end is notched to form the knock, which should fit snugly to the string. Lastly, the arrow should be fletched (adding feathers or other materials to the arrow shaft) in order to stabilize the arrow in flight. Fletchings can range from a bundle of pine needles lashed to the end of the arrow nearest the string, to a couple of feathers with their quill tips tied to the shaft. Another method is to spit the knock end of the shaft, insert a feather, and wrap either end of the split to keep the feather in place. A wrap should be tied behind the point and before the knock to keep the shaft from spitting from the various forces applied. Sinew, plant fiber, rawhide or synthetic threads all make great wrapping cordages.
You now have a quickie survival bow and arrow. Use your pointer finger—on the hand that holds the bow—as your arrow rest, and hold your bow at a 45-degree angle to your body to keep the arrow in place. With a bow made of green wood and a quickly fletched arrow, you must get closer to your prey to make sure of a kill. As the bow dries, it will increase in snap, but never will be as fast shooting as a well-designed bow of seasoned wood. Nonetheless, you now have an advantage over using rocks or sticks to take down game, and this hastily made tool will buy you time as you prepare to make finer and more effective weapons.